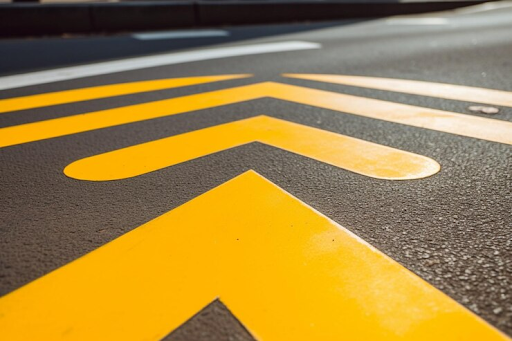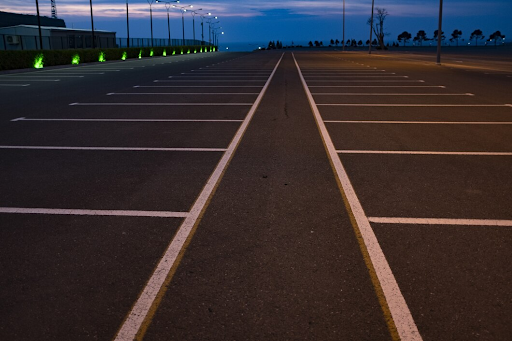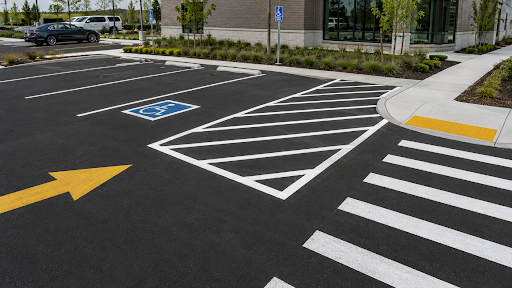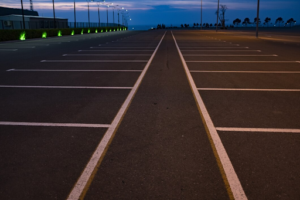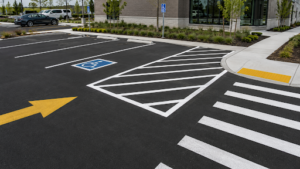
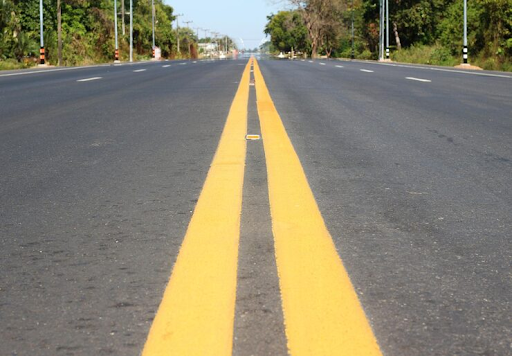
A painted median is a marked area between traffic streams that separates opposing traffic channels, vehicles, and incidents where drivers should not travel. Unlike a raised divider, it uses lines, hatching, colour, and signs instead of a curb or physical barrier.
Professional road marking services in Ontario help municipalities and property managers confirm the layout, remove conflicting lines, apply suitable materials, and maintain clear visibility.
Key Takeaways
- It separates or channels traffic without creating a physical barrier.
- It is not a travel, parking, passing, or storage area.
- Yellow generally separates opposing traffic in Ontario.
- A centre turn lane has a different purpose and marking pattern.
- Final layouts must follow approved drawings and road authority requirements.
What Is a Painted Median?
A painted median is a central pavement area outlined with solid lines and often filled with diagonal stripes or chevrons. It creates visual separation between traffic movements without using concrete, curbs, landscaping, or another raised structure.
Painted median markings may define a neutral area, protect a turn pocket, guide vehicles around an island, or narrow the apparent roadway. A painted median strip can also be useful where drainage, snow clearing, project cost, or future layout changes make a raised structure less practical.
How Drivers Should Read It
Drivers should treat the marked centre area as a visual buffer unless arrows, signs, or an authorized opening clearly permit movement. It should not be used to pass another vehicle, wait in traffic, shorten a turn, park, or create an unofficial travel lane.
The surrounding boundary lines provide the first clue. Solid yellow lines commonly separate opposing traffic, while arrows and signs explain whether a nearby lane is reserved for turning, through movement, cycling, or another controlled use.
Where It Is Commonly Used
A painted median road treatment may be used on urban streets, intersection approaches, commercial access roads, institutional campuses, industrial sites, and private developments. It is especially useful where traffic requires clearer guidance but a physical median is unnecessary or difficult to install.
Common applications include:
- Intersection channelization
- Access road organization
- Turn pocket separation
- Lane transitions
- Painted traffic islands
- Pedestrian buffers
- Temporary traffic trials
The design should reflect speed, traffic volume, vehicle size, visibility, road ownership, and nearby pedestrian activity.
What Do Centre Median Markings Mean in Ontario?
In Ontario, painted median traffic controls must be read with the surrounding colours, signs, arrows, and intersection rules. The Ministry of Transportation states that yellow lines separate traffic moving in opposite directions, while white lines separate traffic moving in the same direction.
Colour, Boundaries, and Hatching
Clear painted median markings combine colour, line type, width, spacing, and direction. Solid boundaries define the restricted area, while diagonal hatching or chevrons reinforce that drivers should remain outside it unless a permitted crossing point is clearly shown.
Reflective glass beads or other specified materials can improve visibility under headlights. For a broader explanation of arrows, symbols, colours, and lane controls, review these pavement marking meanings.
Median Versus Two-Way Left Turn Lane
A painted median lane is usually a neutral or channelizing area. A two-way left turn lane is an operating lane that allows vehicles travelling in either direction to prepare for a permitted left turn.
The distinction should be clear from:
- Directional arrows
- Boundary line patterns
- Regulatory signs
- Road geometry
- Authorized openings
Drivers should never assume that a wide centre area is a turn lane simply because it appears large enough to hold a vehicle.
How Do Common Centre Treatments Compare?
Centre treatments may look similar from a distance, but they serve different purposes. The main differences are whether drivers may enter the area, whether the treatment controls access, and whether it provides physical separation or protection.
| Centre Treatment | Primary Purpose | Permitted Driver Use | Physical Separation |
| Painted centre median | Separates or channels traffic | Normally prohibited | No |
| Two-way left turn lane | Stores vehicles preparing to turn left | Permitted for left turns | No |
| Raised median | Separates traffic and controls access | Limited to designated openings | Yes |
| Painted island | Guides traffic around a conflict point | Normally prohibited | No |
| Pedestrian refuge island | Provides a protected waiting area | Vehicle entry prohibited | Yes |
This distinction matters because markings communicate permission as well as direction. Entering the wrong centre treatment can block sightlines, interfere with turning traffic, expose pedestrians, or create a head-on conflict.
Why Are Painted Centre Medians Used?
A painted median can improve lane discipline, organize turning paths, discourage random crossing movements, and make intersections easier to understand. It can also be installed or revised more quickly than a concrete divider, making it useful for lower-speed roads, phased projects, and private properties.
Primary benefits include:
- Separating opposing or conflicting traffic
- Creating more predictable travel paths
- Clarifying movements near entrances
- Supporting orderly intersection approaches
- Reducing unnecessary pavement use
- Allowing future layout changes
- Coordinating with resurfacing projects
- Improving nighttime recognition when reflective materials are used
Is a Painted Median Better Than a Raised Median?
A painted treatment is usually better when visual guidance is sufficient and flexibility, drainage, snow clearing, cost, or future changes are major considerations. A raised median is usually better when physical access control, pedestrian refuge, vehicle separation, or stronger protection is required.
Advantages of Painted Treatments
Painted treatments are faster to install, easier to revise, less disruptive to drainage, and generally less expensive than concrete construction. They can also support trial layouts before a municipality or property owner commits to permanent infrastructure.
Their limitations include:
- No physical vehicle protection
- No protected pedestrian refuge
- Dependence on driver compliance
- Reduced visibility under snow or debris
- Gradual wear from traffic and snowplows
- Need for periodic repainting
Advantages of Raised Treatments
Raised medians provide stronger traffic separation, clearer access control, and better opportunities for pedestrian refuge or landscaping. They are appropriate where vehicle intrusion must be discouraged physically rather than visually.
However, raised treatments require more construction, drainage planning, snow clearing coordination, and long-term maintenance. They are also harder and more expensive to modify when traffic needs change.
How Are Centre Median Markings Planned and Applied?
Effective installation connects the approved design with actual field conditions. Before painting begins, the contractor should confirm ownership, geometry, colours, materials, traffic control, access requirements, weather conditions, curing time, and inspection criteria.
Step 1: Confirm the Approved Layout
Review the drawings, dimensions, boundary lines, signs, arrows, tapers, and permitted openings. Any uncertainty should be resolved before measurements are transferred to the pavement.
Step 2: Inspect the Pavement
Check the surface for moisture, dirt, cracks, loose material, repairs, old coatings, and drainage concerns. Paint applied to a poorly prepared surface may peel, fade, or wear prematurely.
Step 3: Remove Conflicting Markings
Remove, grind, or cover obsolete markings using an approved method. Old lines should not remain visible enough to compete with the new layout.
Step 4: Set Out the Geometry
Measure boundaries, tapers, chevrons, offsets, transition points, and openings. Consistent spacing and alignment make the final treatment easier for drivers to understand.
Step 5: Apply the Specified Material
Use suitable equipment, application rates, and reflective media. The coating must match the pavement, traffic level, weather conditions, and project specification.
Step 6: Inspect the Finished Work
Check alignment, coverage, line width, contrast, reflectivity, curing, and traffic reopening requirements. Correct defects before the area returns to normal use.
Step 7: Record the Layout
Keep measurements, material information, photographs, and site notes for future repainting. Accurate records reduce layout errors during later maintenance.
Where nighttime recognition is important, reflective road paint can help drivers identify boundaries sooner. Material selection should still follow the road authority or project specification.
When Should You Hire a Line Painting Contractor?
A qualified contractor is appropriate when markings affect opposing traffic, turning movements, pedestrians, cyclists, emergency access, public road connections, or busy private sites. Experienced crews can follow approved plans, establish accurate geometry, prepare the surface, apply traffic-grade materials, and coordinate safe closures.
Northern Element Contractors supports municipal, institutional, industrial, residential, and commercial line painting projects across Ontario. Property owners can also arrange parking lot line painting for painted islands, directional arrows, travel lanes, pedestrian areas, parking controls, and private access routes.
Plan Clearer Road Markings Across Your Property
A painted median works best when layout, colour, preparation, application, signs, and maintenance support one clear traffic message. Accurate markings help drivers recognize boundaries sooner, follow predictable paths, and avoid using restricted pavement as an unofficial lane.
Contact Northern Element Contractors at +1 647 922 0400 or info@northernelementcontractors.ca to request a quote for dependable line painting across Ontario.